How Long Does a Custom Closet Installation Take?
When you are planning a storage upgrade, custom closet installation time matters as much as the layout. The on-site work may take hours or longer depending on the design, but the full project also includes consultation, design approval, production, and scheduling. Here is how to think about each part and what can affect your calendar in a Southwest Colorado home.
What does custom closet installation time include?
People use “installation time” to mean two different things. One is the time a crew spends working in your home. The other is the full lead time from your first conversation to the finished closet. Those are separate planning questions, and the second is usually much longer.
For High Country Closets, the stated production timeline is 2–4 weeks from design approval to installation. That window is not the same as the length of the installation visit, and it does not begin before the design is approved. The complete process also includes an in-home consultation, measuring, design, your review, and coordinating an installation date. See the company’s custom closet service information for the service process and available closet options.
The on-site visit depends on what is being installed and the condition of the room. A relatively simple reach-in closet with a straightforward layout is different from a large walk-in with multiple storage zones, drawers, and accessories. Existing conditions can also add work. Treat any duration discussed before a site assessment as a planning estimate, not a guaranteed appointment length.
How long does the on-site installation usually take?
There is no single duration that fits every custom closet. The most helpful estimate comes after the designer has measured the space, the plan is finalized, and the installer understands what must be removed or adjusted. A small, uncomplicated installation may be completed in part of a day; a larger or more involved project may require a full day or more. Multiple rooms can extend the work across additional visits or days.
That range is a general planning guide, not a promise about a particular project or a published High Country Closets appointment length. Ask for the expected work window for your approved plan, whether the estimate includes removal of existing shelving, and whether the crew expects to finish in one visit. The answer should reflect the actual scope rather than a generic estimate.
A project may also take longer if walls or floors are uneven, the space needs repairs, or the design includes many separate components. Conversely, a prepared room and a clearly defined design can make the visit more straightforward. Installation work is often sequential: the installer confirms the room, locates the system, secures and levels components, fits shelves and accessories, then checks the finished result.
How long is the complete project timeline?
To plan around the entire project, count from the first consultation rather than from installation day. A typical sequence has four stages: consultation and measurements, design and approval, production and scheduling, and installation. The production-to-installation period High Country Closets describes is 2–4 weeks after design approval. The earlier planning stages and the availability of a date are separate factors.
Consultation: Discuss your storage needs, evaluate the space, and take measurements. Timing depends on room access, decision-makers, and how clearly you can describe priorities.
Design and approval: Review the proposed layout and 3D rendering, then confirm the design. Timing depends on revisions, finish and accessory choices, and how quickly decisions are made.
Production and scheduling: Prepare the approved system and coordinate an installation date. Timing includes the stated 2–4 week production timeline after approval and calendar availability.
Installation: Fit and secure the system, then review the finished space. Timing depends on project size, room conditions, removal needs, and installation complexity.
The table is a planning framework, not a guarantee that every project follows identical dates. Ask when the production window begins, how changes after approval affect the schedule, and when the installation appointment will be confirmed. If you are comparing layout approaches, the closet design guide and closet systems buyer’s guide can help you organize questions before your consultation.
How should you translate the timeline into calendar dates?
Start with the point that is easiest to confirm: the date you approve the final design. Ask the provider to identify the production window that follows that approval, then ask when the installation date will be reserved. These are related milestones, but they are not interchangeable. A production estimate does not necessarily tell you the exact day the crew will arrive.
For example, if a household hopes to have a closet ready before guests arrive, it should not count backward only from the anticipated installation visit. Allow room for the consultation, design review, approval, the 2–4 week production period, and appointment coordination. If a deadline is fixed, mention it at the outset and ask whether the proposed schedule can accommodate it. Do not treat an unconfirmed date as a commitment.
It can also help to write down the dates and definitions discussed. Record when the design was approved, what the stated production window covers, and whether a later change would affect the schedule. This simple timeline prevents confusion when someone uses “lead time” to refer to the whole process and someone else means production only.
What can make an installation take longer?
More components and storage zones. A plan with long hanging sections, shelves, drawers, shoe storage, and specialty racks involves more pieces to position and check than a simpler arrangement. Adjustable components provide flexibility, but the installer still needs to fit and align them correctly. Think through how you use the space before adding features, and keep the final plan focused on daily needs.
Removal or room preparation. If existing shelves, rods, or other built-ins need to come out, confirm who handles that work and whether it is included in the project scope. Repairs, paint, flooring, or other trades may need to happen before installation. Do not assume a new system can cover unfinished repairs or be fitted safely around loose or damaged surfaces.
Site conditions. A room with unusual dimensions, sloped ceilings, obstacles, or walls that are not square can require additional fitting. Older homes and mountain properties may have individual quirks. Accurate measurements and an in-home review help identify these conditions early, but a change discovered during work can still affect the plan.
Late design changes. A revision after approval may require updated drawings, materials, or production. It can also move the starting point for the stated production window. Before approving, review shelf heights, hanging lengths, drawer locations, finishes, and how doors or walkways will function. If you are unsure what to consider, the walk-in closet design steps and small reach-in closet ideas offer useful layout prompts.
Access and delivery logistics. Stairs, narrow entries, limited parking, long distances between the vehicle and the room, and building access rules can affect how a crew moves materials. For a second home or rental, arrange access in advance and share any property instructions. These details are especially useful to discuss in Southwest Colorado, where properties and access conditions vary from one community to another.
How do scope and room type affect the work window?
Think of installation scope as a combination of the number of parts, the amount of fitting, and the amount of work needed before the new system can be secured. A straightforward reach-in design may have fewer sections and less room to maneuver. A walk-in may offer more space for several types of storage, but it can also include more components and more areas to align.
Room size alone does not settle the question. A compact closet with several drawers, specialty racks, and a complex configuration may take more careful fitting than a larger space with a simple arrangement. Similarly, an installation in two closets is not necessarily twice the time of one closet, but it does add another room to prepare, access, and review. Ask for the estimate to be based on the approved design rather than on square footage alone.
It is useful to describe the current room in practical terms. Mention whether existing shelving will remain, whether the walls have visible damage, where doors swing, and whether items obstruct the route to the closet. Photos may help explain a concern during early planning, but they do not replace an in-home assessment and measurements. The goal is to identify variables before the schedule is set.
How can Southwest Colorado homeowners plan around the schedule?
Start with the date you need the room ready, then work backward with the provider. Allow time for the consultation, design decisions, production after approval, and the installation appointment. Do not schedule a move, guest arrival, or another trade on the assumption that the installation visit will finish at a specific hour unless the installer has confirmed that window.
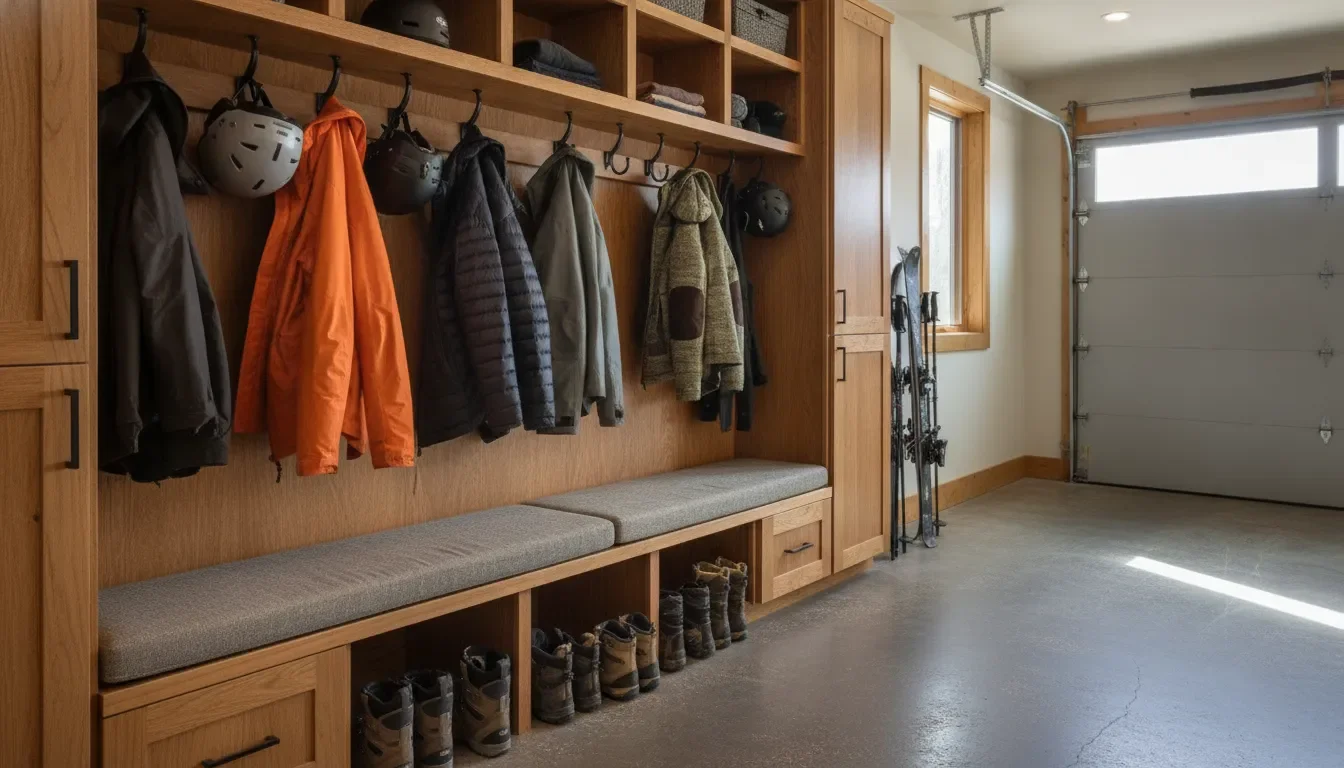
Mountain homes often need to store a changing mix of daily clothing, outdoor equipment, and seasonal items. Tell the designer what has to fit and when you use it. A closet plan may interact with an entryway, a gear area, or a garage, so it can help to consider the home’s storage flow as a whole. Explore ski storage ideas for mountain homes, Colorado mudroom ideas, and vacation-home storage planning if those spaces influence what belongs in the closet.
If your project includes more than a closet, plan the work as a coordinated set of rooms. A custom wardrobe plan, a garage cabinet system, or laundry room storage may need its own design and installation schedule. You can also review the custom closet design overview to prepare for broader planning.
What if the home is occupied or used seasonally?
For an occupied home, consider how long the room can be cleared and which nearby areas need to remain accessible. If the closet is the only place for coats or daily clothing, arrange a temporary location before installation day. Keep the pathway clear without moving belongings into the crew’s work area. A small staging spot in another room can make the changeover easier.
Second homes and vacation properties need an additional access plan. Confirm who will open the property, how the crew will enter, and whether there are building or community instructions to follow. If travel dates, guest bookings, or caretaker availability affect the schedule, share those constraints early. A clear plan reduces the chance of losing an appointment window because the room or property is unavailable.
When several storage areas are part of a larger improvement, decide which space has priority. A closet may be most urgent before a move, while a mudroom or gear area may matter more before a busy winter season. Scheduling the highest-priority room first can help the household plan, but ask whether the separate areas can be designed and installed together or require distinct appointments.
What should you do before installation day?
Confirm the approved scope. Keep the final design, finish choices, and any written schedule details together. Check that the plan reflects the items you intend to store.
Clear the work area. Remove clothing, shoes, bins, and personal items from the closet. Clear nearby floors and pathways so the installers can access the room.
Resolve other work first. Complete agreed repairs, painting, or flooring before the installation if the plan requires an empty or finished room. Confirm who is responsible for removing old components.
Arrange access. Share parking, entry, gate, building, or key instructions ahead of time. For a second home, make sure someone can provide access at the agreed time.
Protect nearby belongings. Move fragile items and anything that could be affected by dust or handling out of the work zone. Ask the installer what floor or furniture protection is planned.
Set aside time for a walkthrough. At completion, review the system, check that agreed components are present, and ask how to adjust any adjustable parts.
These steps will not change production time, but they can reduce avoidable delays during the visit. When confirming the appointment, ask whether you need to be home throughout the work and what to expect at the end-of-installation review. For general workplace safety information, OSHA provides resources at its official safety website; your installer can explain the specific precautions for your project.
How can you make room clearing more manageable?
Sort items before the appointment instead of waiting until the day the crew arrives. Separate everyday clothing from seasonal pieces and decide where each group can stay temporarily. If you plan to donate or discard anything, remove it from the work area early. This leaves less to move at the last minute and gives you a chance to notice whether the approved plan still suits what you intend to keep.
Keep small accessories, jewelry, and personal documents somewhere secure. Label temporary bins by category or by the part of the closet where items belong. That makes it easier to return belongings after the walkthrough without blocking access while installation is underway. If you are unsure whether an item can stay in the room, ask the installer before the appointment.
Do not begin removing built-in pieces unless the provider has confirmed that you should. Removal can affect walls and may be part of the agreed work. Clarifying that responsibility avoids duplicated effort and helps the installer arrive prepared for the approved scope.
What questions should you ask about timing?
When does the 2–4 week production timeline begin, and what event counts as design approval?
What is the estimated on-site work window for my specific approved design?
Does the estimate include taking out existing shelving or rods?
Will the work likely be completed in one visit, or should I plan for more than one?
What room preparation or access arrangements do you need from me?
How could a requested design change affect production or the scheduled date?
When will you confirm the appointment, and whom should I contact if access conditions change?
Clear answers let you compare schedules accurately without treating a general estimate as a commitment. If you are still choosing a layout, review how to choose a closet system and walk-in closet design examples. The design and installation overview can help you see how planning connects to the finished system.
What should a useful timing estimate clarify?
A helpful estimate explains its boundaries. It should separate the expected in-home work from production lead time, identify whether the estimate assumes an empty room, and state whether removal or repairs are included. It should also tell you whether the plan covers one closet or multiple spaces. If an estimate leaves these points unclear, ask follow-up questions before arranging travel, trades, or household plans around it.
Ask how the provider will handle a condition that differs from the assessment. For example, a hidden repair need or a measurement issue may change the work plan. You do not need to predict every possibility, but it is reasonable to understand how a change would be communicated and whether the appointment could need adjustment. A defined process makes schedule changes easier to manage.
Finally, distinguish between a preferred date and a confirmed appointment. Share dates that matter to you, but wait for confirmation before assuming the installation is locked in. If you have flexibility, say so; a range of acceptable dates may make coordination simpler. If you have no flexibility, make that clear at the start so expectations can be discussed before design approval.
How do you get a project-specific estimate?
The most dependable schedule starts with the room and the design, not a generic online number. During an in-home consultation, describe what you store, what is not working now, and any deadline you have. Point out access limitations, existing fixtures, and other work planned for the room. A personalized design and 3D rendering help you review the proposed system before approving it.
High Country Closets describes a four-step process: consultation, design, production after approval, and professional installation. The stated 2–4 week window applies from approval to installation; the exact on-site duration depends on your project. For service details, visit storage services, or learn about the local company. Homeowners who are also planning a pantry can review custom pantry options as a separate part of their storage plan.
To get the most from the consultation, make a short inventory before the visit. Note what hangs, what folds, what needs to stay easy to reach, and what could move to another storage area. Bring up items with unusual dimensions, such as long garments or bulky seasonal equipment. These details help the designer understand the job the closet needs to do rather than relying on a general picture of the room.
It is also useful to identify decisions that may need more than one household member. If two people share the closet, agree on must-have storage and items that can be relocated. If a builder or remodeler is coordinating related work, confirm who will approve the design and who will communicate schedule changes. Clear decision-making before approval can reduce avoidable revisions later.
Book your free in-home consultation
Frequently asked questions
Does the 2–4 week timeline mean installation takes that long?
No. High Country Closets describes 2–4 weeks from design approval to installation as the production timeline. The on-site installation visit is separate and depends on the scope and conditions of the project.
Can I know the exact installation duration before the design is approved?
You can ask for an initial planning estimate, but the more reliable estimate follows a review of the room and the approved scope. Room conditions, removal work, and the number of components can change the time needed.
What is the best way to avoid schedule delays?
Make design decisions promptly, review the final plan carefully before approval, and prepare the room and access as agreed. Tell the provider about other work, property rules, and deadlines as early as possible.
Should I empty the closet before the crew arrives?
Yes. Remove clothing, shoes, and stored items from the work area unless your installer gives different instructions. An empty space makes it easier to access the walls and complete the planned work.
Plan the timeline around your space
Custom closet installation time depends on the system being fitted, while the full project calendar includes design approval and production. For a useful estimate, share your priorities, confirm what the timeline covers, and ask for a schedule based on your specific room. That gives you a clearer plan before installation day arrives.